
If you are planning a room addition in the NYC metropolitan area, the first question is not paint color or tile. It is whether the addition makes legal, structural, and financial sense before you spend serious money on drawings, permits, and contractor pricing. A room addition can improve daily life and increase usable square footage, but it can also become expensive fast if zoning, access, structural work, or vague estimates are ignored too early.
The most practical way to approach a room addition is to think in this order: purpose, feasibility, permit path, budget, and only then design details. National cost ranges can be helpful as a starting point. Many standard room additions are often discussed in the broad range of about $20,900 to $72,600, or roughly $80 to $200 per square foot, while second-story additions, bathroom additions, and high-finish projects usually run much higher. In New York City, real pricing often climbs above national averages because of labor cost, site limitations, permitting requirements, structural tie-ins, and the challenge of making new construction feel natural in an older home.
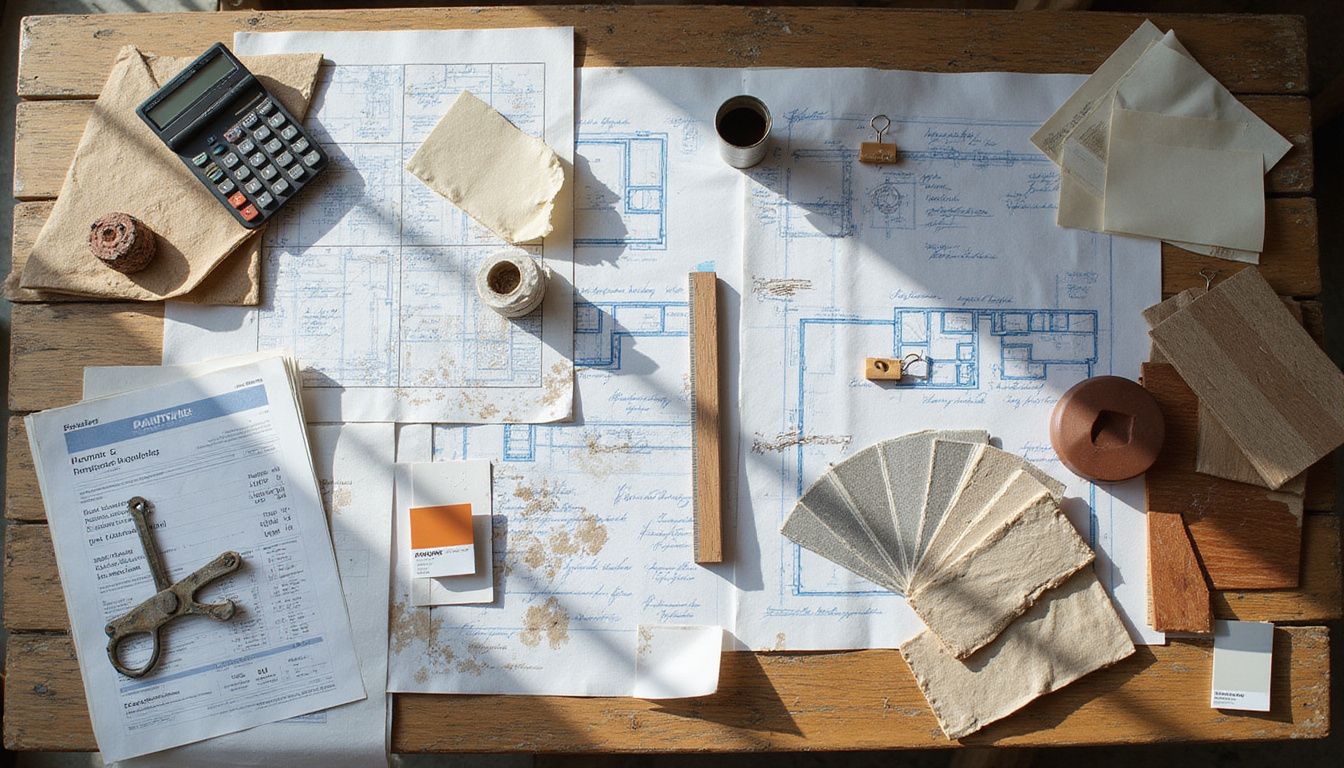
This guide is designed to make the planning process clearer. It breaks down the most important decisions, the cost categories that deserve attention first, the addition types that make the most sense in city conditions, and the contractor checks that help homeowners avoid budget drift and permit headaches later.
What Matters Most Before You Start
- Purpose comes first. The room you need should drive layout, plumbing, wiring, privacy, and budget decisions.
- Zoning and legal buildable area can stop the project early. Setbacks, lot coverage, and occupancy documents matter before design gets too far.
- NYC projects usually cost more than national averages. Restricted access, filing requirements, and structural tie-ins raise the real number.
- Not all additions deliver the same value. A missing bathroom or flexible family space can outperform a larger but less useful addition.
- Detailed estimates matter more than cheap estimates. A low number is often just an incomplete number.
Start With Purpose, Not Square Footage
The purpose of the addition should drive nearly everything that follows. A home office, expanded kitchen, new bedroom, bathroom addition, family room, or in-law suite all pull the project in different directions because they need different plumbing, wiring, sound separation, storage, and light. Homeowners often begin with a rough idea of size, but size alone is a weak planning tool if the room does not solve the problem the house actually has.
That also affects return on investment. Some additions support daily life and resale better than others. A second bathroom or a better family living space may strengthen the home more than a large specialty room that only works for one household. In practical terms, the best addition is often not the biggest one you can squeeze onto the lot. It is the room your home is currently missing.
- Need daily function: consider a kitchen bump-out, mudroom, office, or flex room that solves a problem you feel every day.
- Need better resale support: missing basics such as a second bathroom, legal bedroom, or improved family space usually matter more than novelty rooms.
- Need privacy: a second-story bedroom suite may work better than taking more first-floor square footage.
- Need lower disruption: a bump-out or garage conversion can sometimes deliver more value with less structural upheaval than a full rear addition.
Check Layout, Structure, and Site Reality Early

Once the purpose is clear, the next step is evaluating how the new space connects to the existing house. This is where many homeowners either save themselves time or waste a lot of it. A good addition should improve the house, not force awkward circulation, odd ceiling changes, and strange leftover corners that make the whole layout feel patched together.
Start with an up-to-date survey and a realistic review of the existing structure. You want to know where lot lines sit, where utilities run, which walls carry loads, what the basement or foundation conditions look like, and whether the addition creates natural movement through the home. This is also where early engineering can pay for itself. Structural review may feel like an extra expense, but it is usually much cheaper than redesigning a project after the foundation, roof loads, or bearing walls prove more complex than expected.
- Survey and lot lines: confirm setbacks, easements, and buildable area.
- Structure: review footings, basement walls, framing spans, roof loads, and any weak points that affect the addition.
- Utilities: map drains, water lines, panels, HVAC, and gas runs before layout decisions are finalized.
- Flow: make sure doors, stairs, windows, and ceiling transitions feel natural rather than forced.
- Site access: in NYC, narrow driveways, attached houses, and limited backyard access can raise labor time and material handling costs quickly.
Zoning and Permits Can Shape the Entire Project
In New York City, a room addition is rarely a simple cosmetic renovation. Horizontal and vertical enlargements are generally treated as alteration projects because they affect legal square footage, occupancy, structural safety, egress, and sometimes the Certificate of Occupancy. That means the permit path is not a side issue. It is one of the first filters that determines whether the addition can move forward as planned.
Zoning usually comes first. Floor area ratio, lot coverage, rear yards, side yards, front yard rules, and overall height limits can all restrict what can be built. A homeowner may have a perfectly reasonable design in mind and still hit a legal wall because the lot has already used most of its allowed buildable area. Historic district or landmark status adds another layer, since exterior changes may also need Landmarks Preservation Commission review.
Permit fees are not usually the largest part of the total project, but they are not imaginary either. Filing costs, plan review, inspections, trade permits, and revisions add time and money, especially if the design is still shifting after documents are submitted. The smartest move is to confirm zoning, filing path, and occupancy implications before the design reaches expensive detail levels.
Check zoning, permit path, and occupancy documents before you fall in love with the finished room. In NYC, those three items shape the real scope long before flooring, tile, or cabinetry do.
What Room Additions Usually Cost
Room addition costs depend on size, structure, plumbing, HVAC, finish level, and how difficult the new work is to integrate into the old house. National cost guides are useful for orientation, but NYC homeowners should treat them as a baseline rather than a promise. Attached homes, brownstones, older houses, and tight lots tend to push costs higher because labor is slower, staging is harder, and hidden conditions are more common.
As a rough planning guide, many homeowners begin with broad ranges like these:
- General room addition: about $20,900 to $72,600, or roughly $80 to $200 per square foot.
- Second-story addition: commonly around $90,000 to $200,000, with many projects discussed in the range of $100 to $300 per square foot.
- Bump-out or micro-addition: smaller extensions can cost far less than full additions and often solve very specific layout problems efficiently.
- Garage conversion: commonly more affordable than building new enclosed space, but still dependent on insulation, HVAC, and legal occupancy requirements.
- Bathroom addition: one of the most variable categories because plumbing, waterproofing, and finish choices move the number quickly.
- Sunroom or enclosed patio: can range from relatively simple seasonal use to much more expensive four-season conditioned space.
The useful lesson here is not memorizing every national range. It is understanding which parts of the project are simple square footage and which parts trigger structural, plumbing, mechanical, or filing complexity. Those are the categories that usually separate a manageable addition from a very expensive one.
What Hidden Expenses Surprise Homeowners Most Often
Hidden costs usually come from the parts of the project that are difficult to see in early estimates. Demolition, site prep, framing corrections, support beams, roofing tie-ins, window changes, material matching, and older-house discoveries behind walls can all shift the budget after work begins. That is why the cleanest budgets protect the essentials first and leave breathing room for the unknown.
Older homes in particular are vulnerable to budget surprises. Once walls open up, it is common to find outdated wiring, underbuilt framing, moisture damage, poor previous repairs, or nonstandard conditions that were impossible to price accurately from the outside. Lead-safe work may also matter in homes built before 1978 if painted surfaces are disturbed.
- Demolition and site prep: often a meaningful early cost before visible progress begins.
- Framing and support work: load-bearing openings, beam installation, and roof tie-ins add cost quickly.
- Roofing and windows: the new work has to integrate cleanly with the old envelope, and that rarely happens for free.
- Inspections and reinspection risk: corrections can cost money and time.
- Energy code implications: insulation, windows, HVAC, and envelope upgrades can affect documentation and compliance requirements.
- Lead-safe renovation rules: may increase containment, cleaning, and labor requirements in older homes.
This is why a contingency fund matters. In NYC-area renovation and addition work, a reserve of 10% to 20% is not a sign of panic. It is a realistic acknowledgment that existing conditions often reveal themselves gradually, not politely, and not all at once on bid day.
How to Keep the Budget Under Control
Staying on budget starts before demolition. The strongest budgets are built from clear scope, written allowances, and early decisions about what the project truly needs versus what would simply be nice to have. A vague round number is not a budget. It is wishful thinking with a contractor quote attached.
- Build a line-item budget: separate structure, permits, labor, finish materials, design fees, and contingency instead of relying on a lump sum.
- Get at least three written estimates: compare scope, exclusions, timeline, and permit handling, not just the total number.
- Lock major specs early: windows, insulation, HVAC approach, and basic layout should be resolved before filing when possible.
- Protect the contingency: do not spend it mentally before the walls are opened.
- Keep the initial payment disciplined: avoid oversized deposits and tie future payments to real milestones.
One of the most common budgeting mistakes is overcommitting to finish choices before the structural and permit path is stable. Countertops, tile, and premium fixtures are easy to get excited about. Footings, roof structure, and filing revisions are less glamorous but far more capable of wrecking the budget if ignored.
Which Type of Addition Makes the Most Sense?
Not all room additions solve problems with the same efficiency. In the NYC area, lot size, existing house layout, and access conditions often make some addition types far smarter than others. The best choice depends on what kind of space problem you are trying to solve, how much disruption you can tolerate, and whether you want to preserve yard area.
Second-Story Additions
A second-story addition is often the strongest choice when the lot is tight and the house needs real square footage rather than a modest extension. It preserves the yard and can create a private level for bedrooms, baths, or a primary suite. It is also one of the most expensive addition types because it may require roof removal, new stairs, structural reinforcement, and more complicated construction sequencing.
- Best for: multiple bedrooms, a new bath, or a private upper-level suite.
- Main cost drivers: structural support, stairs, roof work, and system upgrades.
- Main layout issue: stair placement can steal valuable first-floor area if not solved early.
Bump-Outs and Micro-Additions
A bump-out is often one of the best value plays because a few extra feet can transform a kitchen, bathroom, breakfast area, or living room without the cost and risk of a full enlargement. In practice, many homeowners solve their real daily frustration with a compact addition instead of committing to a major expansion. That is usually a sign of good planning rather than limited ambition.
- Expand a kitchen for an island, pantry wall, or better circulation.
- Widen a bathroom enough for a better shower or double vanity.
- Create a dining nook, built-in storage area, or compact office zone.
- Improve furniture layout in a tight living room without reworking the whole house.
Garage and Attic Conversions
Conversions can be smart because the shell already exists, but they only work when the space can become legal, comfortable, and safe. Insulation, ventilation, ceiling height, emergency egress, electrical capacity, and occupancy rules all matter. A conversion that is cheap but awkward, cold, underlit, or legally questionable is not really a bargain.
Garage conversions often work well for offices, gyms, or flexible living areas. Attic conversions are useful when privacy matters and the footprint cannot expand easily. Both require careful review of code and layout constraints before the homeowner starts mentally calling the room a bedroom or guest suite.
Sunrooms and Enclosed Patios
A sunroom makes the most sense when the goal is light, flexibility, and a better relationship to the yard. It can be a lifestyle-driven addition with real appeal, especially if the room is integrated well and works for more than a narrow season. The key mistake is treating every sunroom as the same product. A three-season room is much different from a true four-season conditioned space in cost, envelope performance, and HVAC needs.
Design Choices That Make an Addition Feel Natural
The best additions do not just add space. They feel as though they belonged to the house from the beginning. That requires more than matching paint. Roof pitch, siding exposure, trim depth, window proportions, floor height transitions, and room-to-room flow all affect whether the addition feels integrated or obviously tacked on.
Respect the Existing Architecture
Outside, the new work should relate clearly to the original home. That does not always mean perfect imitation, but it does mean discipline. Materials, roof form, trim language, and window rhythm should feel related enough that the new space does not look like it landed from another property entirely.
Use Light and Ventilation Intentionally
Natural light and airflow should be designed, not left to chance. This is one of the easiest ways to make an addition feel more comfortable and more valuable. Window placement, glazing quality, shading, and cross ventilation matter as much as flooring and millwork once people actually start living in the room.
- Use north and south light wisely: these exposures are often easier to manage than strong west sun.
- Control glare and heat: overglazing without shading can make a beautiful room annoying by midafternoon.
- Create real air movement: operable windows on more than one side often feel far better than one dramatic fixed opening.
- Choose climate-appropriate windows: comfort is part of design, not a mechanical afterthought.
Plan for Multi-Use Space
Multi-purpose rooms usually age better than single-purpose rooms. A room that can serve work, guests, storage, reading, and family use with a few furniture changes generally gives better value from each square foot. That flexibility matters even more in city homes, where every inch needs to justify itself.
How to Choose the Right Contractor
The right contractor protects schedule, workmanship, and permit control at the same time. In NYC, licensing, insurance, filing discipline, inspections, and communication are not side issues. They are core parts of the job. A beautiful portfolio means less if the contractor cannot manage paperwork, scope clarity, or change orders with the same level of competence.
Verify Licensing and Insurance
For residential work in NYC, licensing is a real consumer protection issue, not a formality. Make sure the contractor is properly licensed where required, carries valid insurance, and can explain who is pulling permits and how trade work will be handled. The company name on the contract should match the license and insurance documents.
- Ask for license information and verify it.
- Request proof of general liability and workers’ compensation coverage.
- Confirm who pulls permits and how plumbing and electrical trades are licensed.
- Make sure the contract identity matches the business actually doing the work.
Review Similar Projects, Not Just Pretty Projects
A polished portfolio is helpful, but it is not enough. Ask for projects that resemble your own: rear additions, brownstone additions, second stories, attic conversions, or attached-house work under city conditions. Then talk to references about whether the final cost stayed close to the estimate, whether the site remained organized, and how change orders were handled.
Demand Clear Communication and a Real Contract
Clear expectations reduce conflict and budget drift. The contractor should understand your goals, must-haves, finish level, and target investment range. The contract should define the work, materials, payment schedule, important dates, and how changes are priced and approved. Weekly check-ins and written decisions help keep the project from becoming a memory test later.
- Write a simple project brief with goals, must-haves, and budget range.
- Attach sketches or inspiration images that explain what you mean visually.
- Set a routine for weekly updates and written change approvals.
- Tie payments to milestones rather than vague calendar points.
Frequently Asked Questions
How do I start planning a room addition?
Start with the room’s purpose, then check feasibility. Confirm what problem the addition solves, how it fits the house, whether zoning and structure allow it, and what budget range is realistic before design goes too far.
What do room additions usually cost?
Many standard room additions are commonly discussed in a broad range of about $20,900 to $72,600, or roughly $80 to $200 per square foot, but NYC-area projects often run higher once structure, permits, site access, and finish expectations are factored in.
Do I need permits and inspections for a room addition?
Usually yes. In NYC, room additions are commonly treated as alteration projects because they affect legal square footage, occupancy, egress, and structure. Permit review and inspections are part of the process, and some projects may also affect Certificate of Occupancy requirements.
Which type of addition gives the best value?
The best value usually comes from the room your house is missing, not from the largest possible addition. Bathroom additions, family living space, flexible work areas, and efficient bump-outs often solve daily problems better than overly ambitious expansions.
How do I keep a room addition budget under control?
Use line-item budgeting, get multiple written estimates, protect a 10% to 20% contingency, lock major design decisions early, and compare bids by scope and exclusions instead of headline price alone.
Bottom Line
Planning a room addition well is what keeps a good idea from turning into an expensive construction problem. The strongest sequence is simple: define the purpose, confirm feasibility, understand zoning and permit implications, build a realistic budget, and then refine the design. That order saves time, protects money, and usually leads to a better final room.
In NYC, the difference between a smooth project and a frustrating one often comes down to early clarity. Homeowners who check legal constraints early, compare detailed bids, and choose a contractor who can manage both construction and paperwork usually end up with a far better result than those who begin with inspiration images and hope the rest will work itself out.