You know how one “simple” finish choice can stall an entire kitchen plan. The tile on kitchen backsplash is often that choice, especially when you’re trying to make white countertops and two-toned cabinets look intentional.
If you’re leaning toward glass or ceramic for easy upkeep and you plan to hire a pro, you’re already thinking like a seasoned NYC homeowner.
I’m Alex Fedin, a licensed general contractor in New York City, and I’ve watched backsplash decisions go two ways: either you pick a tile that’s easy to live with for years, or you pick a tile that looks great on day one and becomes a cleaning project by month two.
This guide gives you a clear way to choose materials, layouts, tile sizes, and peel-and-stick options, so you can make a confident call before you order a single box.
Key Points
- Build your budget around the installed cost, then add a 10–15% overage for cuts, breakage, and future repairs. For many NYC kitchens, that buffer is what keeps your job moving when a tile arrives chipped or a box gets delayed.
- If low maintenance is your priority, stick with glass, ceramic, or porcelain. If you want stone, plan for sealing and pick grout that resists staining from day one.
- Tile size changes how your kitchen feels. Large-format tiles reduce grout lines for a calmer look, while mosaics and mid-sized tiles (like 3×6) add texture and handle outlet cutouts neatly.
- Plan movement and moisture control: keep a small perimeter gap and use a flexible sealant at changes of plane (countertop-to-tile and inside corners). Grout care is real maintenance, so choose grout and color with your cooking style in mind.
- Peel-and-stick can work for rentals and quick refreshes, but treat it like a product with limits. Heat, steam, and textured walls are the usual failure points.

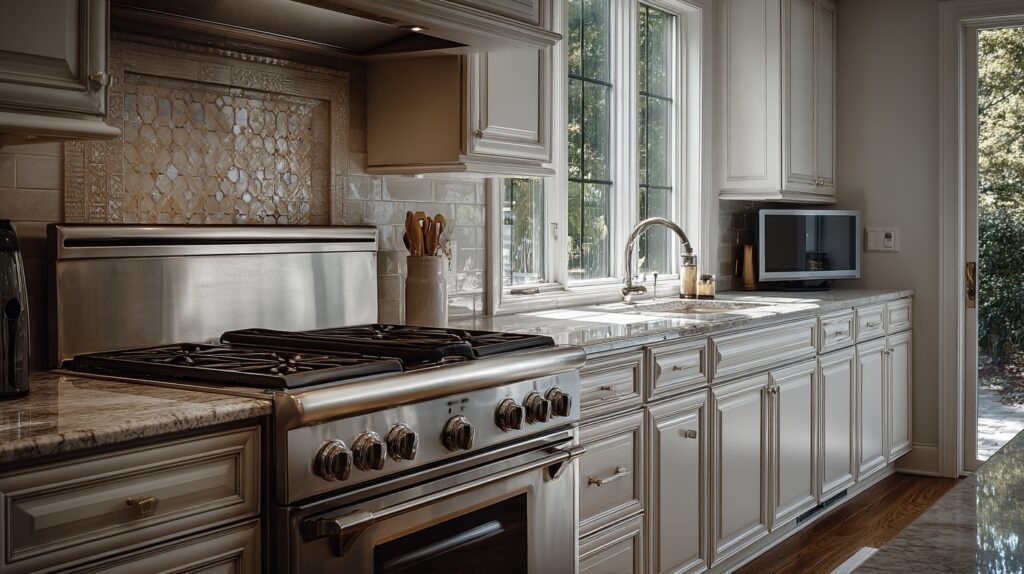
What is the Purpose of a Kitchen Backsplash?
 Backsplash tiles for kitchen protect your wall from water, grease, sauces, and daily scrubbing. In a working NYC kitchen, the backsplash is basically a washable shield between your cooking zone and your drywall.
A backsplash also solves a design problem: it creates a clean transition between countertop, upper cabinets, and wall color. That’s why a kitchen backsplash tile can quietly tie together two-toned cabinets and bright white counters without forcing everything to “match.”
Backsplashes transform spaces and express personal style. – Chip Wade
From a practical standpoint, decide early whether you want a small “standard height” strip or a full-height backsplash that runs up to the cabinets (or even the ceiling). A full-height run adds more coverage and a stronger focal point, but it also increases tile quantity, labor, and planning around shelves, outlets, and lighting.
On my NYC projects, the best results come from choosing a material you can wipe clean fast, then choosing the pattern and color that makes your kitchen feel finished.
Watch a quick backsplash overview
Key Factors in Selecting Tile on Kitchen Backsplash
Choose backsplash tiles that match your budget, your cooking habits, and the reality of NYC apartments (tight schedules, deliveries, building rules, and limited storage for pallets of tile).
Before you fall for a pattern, run through this quick decision checklist.
| Decision | What to check in your kitchen | What it changes |
|---|---|---|
| Cooking intensity | Do you fry daily, use high heat often, or cook with heavy spices? | Grout color, tile finish (matte vs glossy), and whether mosaics will feel like “too much grout.” |
| Cleaning style | Do you wipe daily, or do you deep-clean on weekends? | Whether you should pay extra for stain-resistant grout or choose larger tiles. |
| Light and glare | Do you get strong window light or under-cabinet lighting? | Glossy glass can sparkle, but it can also show streaks. |
| Building constraints | Is it a co-op or condo with required work hours, elevator reservations, or insurance paperwork? | Your timeline, installer choice, and how early you must order materials. |
See common backsplash planning mistakes and fixes
How Do I Choose a Backsplash Tile Within My Budget?
Start with the total installed budget, not just the tile price tag. A complicated layout (herringbone, chevron, tiny mosaics) can raise labor fast because it takes longer to cut, set, and grout cleanly.
A 2025 cost guide from Angi lists ceramic tile at about $4–$15 per square foot for materials, stone at $5–$45, and glass reaching much higher ranges, with labor often priced per square foot or hourly depending on complexity.
Use this simple budgeting workflow before you shop seriously:
- Measure the real tile field: length times height, minus big windows, plus any range-hood feature area you want to highlight.
- Add 10–15% overage: more if you choose a pattern with lots of cuts or you’re working around many outlets.
- Decide where to spend: pick one “wow” moment (range hood wall, full-height behind the stove, or a mosaic inset) and keep the rest calm.
- Order samples: view them in morning light, evening light, and with under-cabinet lights on.
If your kitchen has white countertops and two-toned cabinets, sample testing matters even more. White surfaces bounce light and can shift how a tile reads, especially in smaller NYC kitchens.
What Tile Durability and Maintenance Should I Consider?
Durability is less about a tile surviving impact and more about it surviving your real life: grease, splatter, steam, cleaning products, and time.
Glass stays non-porous, so it resists staining well. Ceramic is a strong all-around choice, especially for heat near the stove. Porcelain is a type of ceramic that’s defined in U.S. standards by very low water absorption (0.5% or less), which is one reason it performs so well in messy zones.
Grout is usually the maintenance problem, not the tile. If you want the backsplash to stay “wipeable,” consider upgrading grout rather than upgrading tile.
- Standard cement grout: budget-friendly, but it can discolor over time in busy cooking areas.
- Epoxy grout: many homeowners choose it because it offers strong stain resistance and doesn’t require sealing like typical cement grout.
- Color choice matters: bright white grout looks sharp, but it shows cooking splatter sooner.
For long-term performance, plan flexible sealant (not grout) where tile changes plane, like the countertop-to-tile joint and inside corners. That’s one of the most overlooked steps I see on rushed installs.
Choose tough tiles for daily cooking, and plan grout care from day one.
How Can I Decide on the Right Look for My Backsplash?
Once you’ve picked a durable material, use layout to create the “feel” you want: quiet and modern, warm and classic, or bold and graphic.
A fast way to avoid expensive regret is to visualize layouts before you buy. Tools like Daltile’s Pattern Tool let you test patterns and sizes, then save or print what you like so your installer can follow the plan.
Here are design moves that work especially well with white countertops and two-toned cabinets:
- Blend, don’t match: choose a tile that shares one tone with your cabinets and one tone with your counters.
- Use finish to control attention: glossy finishes “pop,” matte finishes read calmer and hide streaks.
- Pick one focal wall: a feature behind the range hood looks intentional, even in a small kitchen.
- Think full-height strategically: go full-height on one wall, and standard-height elsewhere if budget is tight.
How Do I Match Backsplash Tiles with My Kitchen Decor?
Matching is really about coordination: cabinets, counters, flooring, hardware, lighting, and the backsplash have to share a consistent story.
I like to have clients build a “three-sample board” before we finalize a kitchen tile backsplash:
- Tile sample: your top choice (and one backup).
- Counter sample: a real piece, not just a photo.
- Cabinet door sample: both tones if you have two-toned cabinetry.
Then we make two decisions that most people skip until it’s too late: grout color and trim/edge detail. Grout can blend for a softer look or contrast for a crisp grid. Edge trim (or a clean return) determines whether the whole backsplash looks “built-in” or “added later.”
Popular Kitchen Backsplash Tile Materials
There isn’t one best material for every NYC kitchen. The right pick depends on how much you cook, how much you clean, and whether you want the tile to disappear or become the star.
Here’s a clear comparison you can use while shopping.
| Material | Why homeowners choose it | Maintenance reality |
|---|---|---|
| Ceramic | Classic, affordable, lots of colors and shapes. | Easy to clean; grout care still matters. |
| Porcelain | Dense, low absorption, great for heavy-use kitchens. | Easy tile maintenance; choose grout wisely. |
| Glass | Brightens small spaces and adds depth. | Wipes clean, but can show streaks and fingerprints. |
| Mosaic (format) | Detail, texture, and strong focal points. | More grout lines means more upkeep. |
| Natural stone | High-end look with unique veining. | Sealing and careful cleaning are part of ownership. |
Pick the material first, then choose the shape and pattern. That order keeps you from buying something beautiful that turns into a weekly scrubbing project.
Watch a material comparison walkthrough
What Are the Benefits of Subway Tiles?
Subway tile is popular because it fits almost any kitchen style and it’s easy to clean. The classic size many people picture is 3×6, but you can change the feel by changing layout: straight stack for modern, offset for traditional, vertical for extra height.
In the NYC area, subway tile is also a practical choice for apartments because it’s widely available. If you ever need to replace a few tiles later, you have a better chance of finding a close match.
For a fresh look that still feels timeless, focus on one upgrade:
- Choose a slightly warmer white instead of bright white.
- Use a matte or satin finish to cut glare.
- Pick a grout color that won’t punish you for cooking.
Why Choose Mosaic Tiles for Your Backsplash?
Mosaics give you texture and detail in a compact space, which is why they work well as a feature behind a range or inside a niche.
The tradeoff is grout. More joints mean more cleaning, especially near the stove.
If you love the look, keep mosaics under control with these pro rules:
- Use mosaics as an accent: feature wall or a framed panel, not the entire kitchen if you cook daily.
- Choose a smaller trowel notch: mosaics need the right mortar thickness so thinset doesn’t squeeze into joints.
- Test a full sheet: check sheet alignment before installation so your finished lines look straight.
What Features Make Glass Tiles a Good Option?
Glass tile is one of the best choices for brightening a NYC kitchen because it reflects light and stays non-porous. That’s a big deal near sinks and coffee stations.
Glass also shows what’s behind it. For that reason, installers often use bright white mortars made for glass, so the tile color stays clean and the setting material doesn’t shadow through.
If you want glass to look sharp for the long haul, follow two rules:
- Skip abrasive cleaners: use gentle products to avoid scratching the surface.
- Go easy on tiny mosaics: they can look stunning, but the grout load goes up fast.
What Are the Advantages of Ceramic Tiles?
Ceramic tile is a strong default choice for a kitchen backsplash tile because it handles heat, moisture, and daily cleaning without drama.
You also get flexibility: glossy, matte, handmade looks, clean modern edges, and classic subway shapes. That’s why ceramic works so well when you’re trying to coordinate with two-toned cabinets. You can find a tile that bridges both tones instead of fighting them.
For the most reliable outcome, choose a reputable series, then match the installation materials to the tile. In my experience, that pairing matters as much as the tile itself.
What Qualities Do Natural Stone Tiles Offer?
After ceramic and glass, many homeowners ask about natural stone options. Stone can look high-end because it has real depth and variation you can’t fake.
Just be honest about the maintenance. Some stones need sealing, and even sealed stone can stain if spills sit too long.
If you want stone without constant stress, set yourself up for success:
- Choose the right finish: honed finishes can hide small etches better than high polish.
- Plan a sealing check: treat it as annual upkeep, like changing HVAC filters.
- Use the right cleaners: avoid harsh acidic products that can dull stone over time.
Creative Kitchen Backsplash Design Ideas
Design is where you can add personality fast, even if the rest of your kitchen stays simple. In NYC apartments, that’s a win because you can transform the room without moving plumbing or changing the layout.
Use these ideas to choose a look you’ll still like after the novelty wears off.
How Can Graphic Patterns Enhance My Backsplash?
Graphic patterns can make a backsplash feel like a feature wall. They work best when the rest of the kitchen stays calm, especially with white countertops.
Two patterns I see succeed in real kitchens:
- Repeating geometry: diamonds, triangles, and hexagons create rhythm without needing a loud color.
- Controlled “statement zone”: a patterned panel behind the range, surrounded by simpler tile elsewhere.
If you’re choosing a handcrafted look (like zellige-inspired tile), plan for slightly wider, more organic grout lines and accept some variation. That variation is the point, but it needs an installer who won’t fight it.
What Are Some Tips for Using Contrasting Tile Colors?
Contrast is easiest to control when you limit it to one decision: either the tile color contrasts, or the grout color contrasts. Doing both can look busy, especially in smaller kitchens.
Try this simple approach:
- Base color: choose a field tile that works with your countertops.
- Accent color: add a stripe, border, or feature behind the range.
- Hardware tie-in: echo the accent with cabinet pulls or lighting finish.
Always test under your actual lights. Under-cabinet lighting can shift cool whites warmer and can make glossy tiles sparkle more than you expect.
How Do Herringbone or Chevron Layouts Change the Look?
These layouts add movement. They can make a standard tile feel custom, but they usually require more cuts and more setup time.
Use them when you want the backsplash to be a design feature. Skip them when your kitchen already has a lot going on (busy stone counters, bold cabinet color, heavy veining).
To keep the look clean, plan your starting point:
- Center on the range: it keeps the pattern balanced where your eye naturally lands.
- Decide how you handle edges: trim pieces, returns, or a clean stop line.
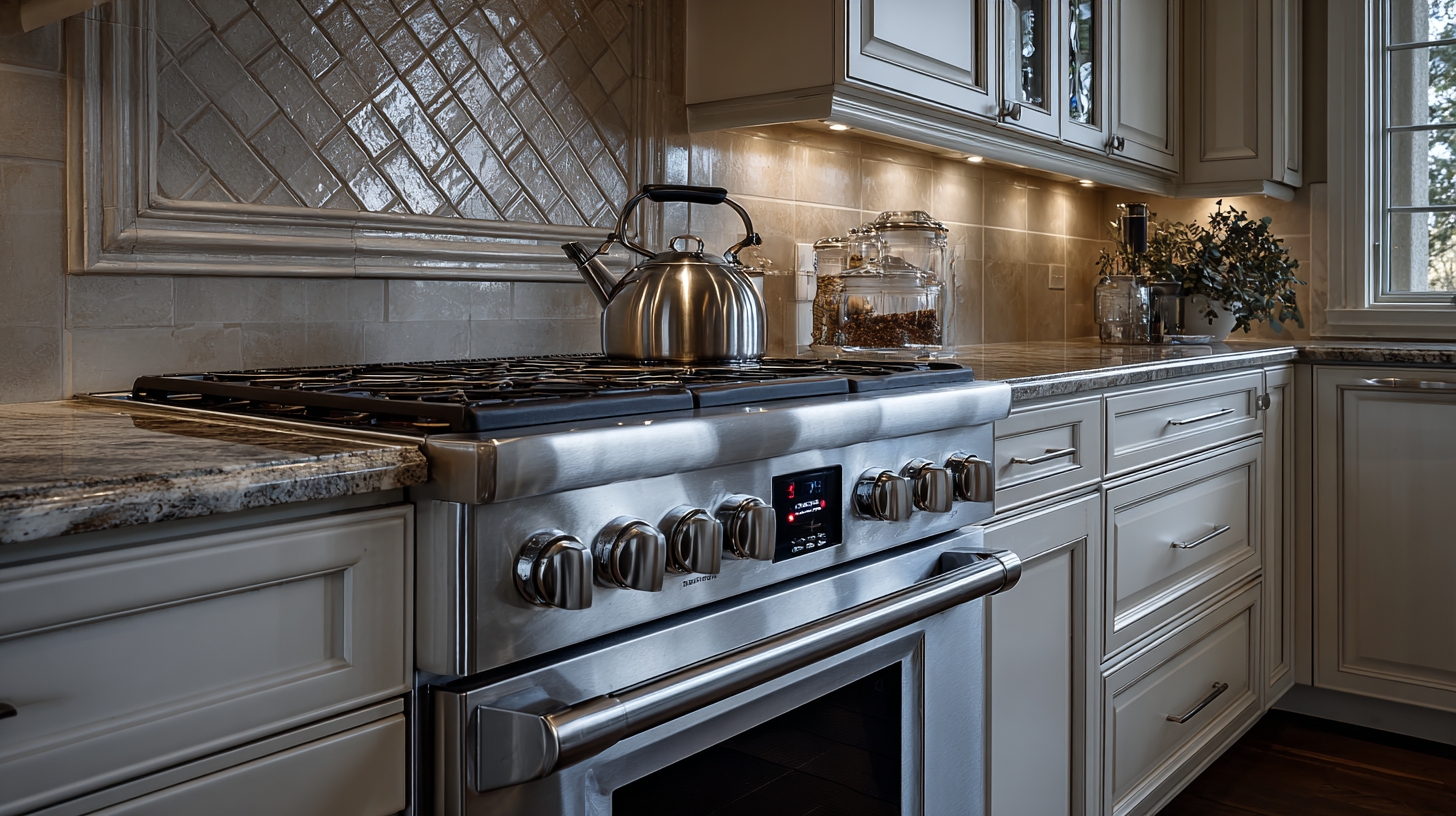
How Can Tiles Highlight the Range Hood?
The range hood area is the easiest place to create a “designed” look without tiling every wall. Tile the hood surround, or run tile full-height behind it, and the whole kitchen looks more intentional.
Two practical options that hold up well in busy kitchens:
- Same tile, different layout: keep the material consistent, but change the pattern behind the hood.
- Same layout, different tile: use a durable field tile everywhere, then add a small accent tile behind the hood.
What Does Extending Tiles to the Ceiling Do for Your Kitchen?
Full-height tile makes the room feel taller, and it creates a clean, built-in look that pairs well with ceiling-height cabinets.
It also reduces painted drywall in the splash zone. That’s helpful behind coffee stations, food prep areas, and any spot where steam and oils collect over time.
If you want this look, plan the details early:
- Shelves and brackets: know where they land before tile goes up.
- Outlet strategy: align outlets so they don’t cut through your focal pattern.
- Edge finish: decide whether you use a trim, a bullnose, or a clean return.
Peel-and-Stick Backsplash Tiles: Pros and Cons
Peel-and-stick backsplash tiles can be the right call for rentals, fast refreshes, or a short timeline. They can also fail if you ignore heat, steam, or surface prep.
Think of peel-and-stick as a product category with rules, not a “shortcut version” of tile.
What Are the Advantages of Peel-and-Stick Tiles?
The advantage is speed: no thinset, no grout, and minimal tools. That’s why they’re popular in NYC rentals and pre-sale touch-ups.
You can also use them to test a design direction. If you’re unsure about a bold look, peel-and-stick can help you live with a color or pattern before committing to a permanent install.
- Fast install: good for short work windows.
- Lower labor cost: you may be able to DIY.
- Easy design refresh: especially useful in rentals.
What Are the Drawbacks of Peel-and-Stick Tiles?
Peel-and-stick can look great at first, then start lifting at seams if the wall isn’t properly prepped or if heat and steam hit the adhesive day after day.
Smart Tiles’ own FAQ notes their products are designed for surfaces up to 120°F, and they recommend leaving an 8-inch safety zone behind gas cooktops without a rear control panel to avoid direct flame contact.
Here’s where I tell NYC homeowners to be cautious:
- Behind high-heat cooking: heat and steam can shorten lifespan.
- Textured walls: adhesion suffers on uneven surfaces.
- Resale expectations: buyers often read it as temporary.
How to Choose the Best Tile Size for Your Backsplash
Tile size is one of the fastest ways to control maintenance. Bigger tiles mean fewer grout lines. Smaller tiles mean more texture, but also more joints to clean.
Your cabinet layout matters too. Many NYC kitchens have about 18 inches between countertop and upper cabinets, which strongly influences whether large-format tile looks seamless or looks chopped up by outlets and under-cabinet lighting (NKBA training materials commonly reference this clearance).
When Should I Use Larger Tiles for My Backsplash?
Large-format tiles (like 12×24) create a clean, modern look and reduce grout lines. That’s great for open kitchens and for homeowners who want easy wipe-down maintenance.
Use larger tiles when:
- You have long, uninterrupted walls with fewer outlets.
- You want a calm background for bold cabinets or dramatic counters.
- You prefer minimal grout maintenance.
Plan for cutting skill. Large tiles can look amazing, but they demand careful layout around outlets, switches, and cabinet edges.
How Do Smaller Tiles Affect the Backsplash Design?
Smaller tiles add movement and detail. They also handle tricky areas better, like tight corners, window returns, and outlet clusters.
The tradeoff is grout. If you cook often, choose a grout color that won’t show every splash and consider a higher stain-resistant grout option for the stove zone.
Why Choose Mid-Sized Tiles for Balanced Style?
Mid-sized tiles (like 3×6, 2×9, 4×8, or 6×6) hit the sweet spot in many NYC kitchens. They’re large enough to keep grout manageable and small enough to work cleanly around outlets.
They also give you layout flexibility:
- Horizontal stack: classic and calm.
- Vertical stack: adds height and a modern feel.
- Offset pattern: traditional look that hides small imperfections.
If you’re choosing a very tight grout line, check tile consistency. Industry guidance commonly ties minimum grout width to tile size variation, since grout is what absorbs small dimensional differences and keeps lines looking straight.
What Are the Latest Trends in Kitchen Backsplashes?
Trends matter most when they solve a real problem. In my view, the best “trend” is the one that makes your kitchen easier to maintain and easier to love.
In NKBA’s 2026 Kitchen Trends Report, respondents called out growing popularity for slab and solid-surface backsplashes and also pointed to backsplashes as a prime place for statement color, which tracks with what I’m seeing across NYC remodels.
How Are Retro Tile Styles Making a Comeback?
Retro is showing up in a smarter way now: cleaner layouts, warmer colors, and a focus on texture instead of loud theme decor.
If you want the retro feel without making the kitchen look dated, try one of these:
- Smaller-format tile in a modern stack: keeps the vibe fresh.
- Warm neutrals: creamy whites, soft tans, and earthy greens.
- Vintage-style edge details: a simple trim can change the whole feel.
Why Consider Matte Finishes for Tiles?
Matte finishes have a practical advantage: they hide smudges and water spots better than high-gloss surfaces.
That matters in NYC kitchens where the backsplash often sits close to the sink and stove, and where the light can be harsh. Matte can look calmer, especially with white countertops that reflect a lot of brightness.
How Can Metallic Accents Enhance Your Backsplash?
Metallic accents work best as a small dose: a strip, a few mosaic pieces, or a feature around the range hood. Too much metallic can feel busy fast.
To keep it timeless, match metallic tile accents to one other metal in the room, like cabinet hardware or a faucet finish. That’s how you make it feel intentional instead of trendy.
Installing and Maintaining Your Kitchen Backsplash
A backsplash lasts when the substrate is flat, the setting materials match the tile, and the edges are detailed correctly.
If you’re in a co-op or condo, confirm building requirements early, including work hours, COI language, and delivery rules, so the install day doesn’t get blocked at the front desk.
What Are the Steps for DIY Tile Installation?
Measure your wall and mark a vertical center line for symmetry. Prepare a ledger board to support tiles during installation.
If your building was built before 1978 and you’re hiring a contractor, the EPA’s Renovation, Repair and Painting (RRP) program sets lead-safe requirements when work disturbs painted surfaces, which can affect prep, containment, and cleanup.
- Set a clear center point, mark a vertical line on the wall, and snap chalk lines to keep rows straight and balanced for your backsplash layout.
- Attach a ledger board at the base level, secure it with screws, and use it to support the first row of tiles during the work.
- Spread tile adhesive evenly on the wall, use a notched trowel, and work in small sections to prevent skinning of the mortar.
- Press each tile into place along your chalk line, keep every tile level, and use spacers to hold a consistent joint width that matches your tile and layout plan.
- Keep a small perimeter gap at the edges, then use flexible sealant at changes of plane instead of grout, so movement doesn’t crack the joint.
- Check alignment frequently with a level, adjust tiles as needed, and keep layout consistent across the whole backsplash surface.
- Mix grout to the manufacturer ratio, wait until the adhesive fully sets, then apply grout between tiles and wipe excess with a damp sponge.
- Let grout cure fully, then seal cement-based grout if the product requires it, especially in the stove and sink zones.
- Raise electrical outlets and switches using box extenders after tile work, turn power off first, and fit faceplates for a safe finish.
One NYC-specific note: if you’re relocating or altering wiring during the backsplash scope, NYC Department of Buildings guidance states electrical work typically requires a permit and must be performed by a licensed electrical contractor.
How Do I Care for and Maintain My Backsplash Tiles?
Keep your backsplash clean to protect tile and grout. Small, regular actions prevent stains and long term damage.
- Clean tiles weekly with warm water and mild dish soap, use a soft cloth or sponge, avoid abrasive cleaners that can scratch or dull surfaces.
- Wipe spills quickly, especially oils and strongly colored spices, so they don’t settle into grout or porous materials.
- Dry glossy and glass tiles after cleaning to reduce water spots in humid kitchens.
- Clean grout monthly using a soft brush and a gentle cleaner so buildup does not become permanent discoloration.
- Reseal cement-based grout on the schedule recommended for the product you chose, and prioritize the stove and sink areas first.
- Use stone-safe cleaners on natural stone and confirm whether your stone needs periodic resealing.
- Follow manufacturer recommendations for each tile type so you do not void warranties or damage finishes.
- Inspect caulked joints at changes of plane and replace sealant when it starts to separate or discolor.
Next, review design trends and ideas for your backsplash.
Conclusion
The right tile on kitchen backsplash is the one that matches your cabinets and counters, but also matches how you cook and clean.
Glass, ceramic, and porcelain can all be low maintenance choices for NYC kitchens. Start by testing a few samples in your lighting, then use a visualizer like Daltile’s Pattern Tool to lock in a layout you can explain clearly to your installer.
Talk with your contractor about pattern, grout, and edge details, then schedule an install plan that respects your building rules and your timeline.
FAQs
1. How do I pick the best tile for my kitchen backsplash?
Look at your space, match the tile to your cabinet and counter colors, and set a clear budget. Choose a backsplash tile that balances durability, low maintenance, and the style you want.
2. What materials work well for a backsplash?
Porcelain lasts long and resists stains, clay tile costs less and cuts easily. Glass adds bright shine, natural stone gives rich texture but needs more care, and each choice affects durability and maintenance.
3. What size and pattern should I choose for my space?
Use larger tiles or simple patterns in small kitchens to reduce grout lines and make the room feel bigger. In larger spaces, try smaller tiles or bold patterns to add interest, and consider rectangular tile laid in a running bond for a classic look.
4. Do I need professional installation, and how do I care for grout?
You can install many backsplashes yourself, but hire a pro for stone, complex layouts, or custom tile work to ensure correct installation. Wipe spills fast, clean grout with a mild cleaner, and seal stone or grout as the maker recommends to keep the backsplash tile durable.